How to Clean Your Laptop Screen
An acquaintance once told me that when they were trying to clean their laptop screen, it apparently shorted and died. I was very confused because this should not happen at all, especially for something as simple as cleaning. They later explained that the laptop was actually turned on while they were cleaning, and some water had gotten into the screen.
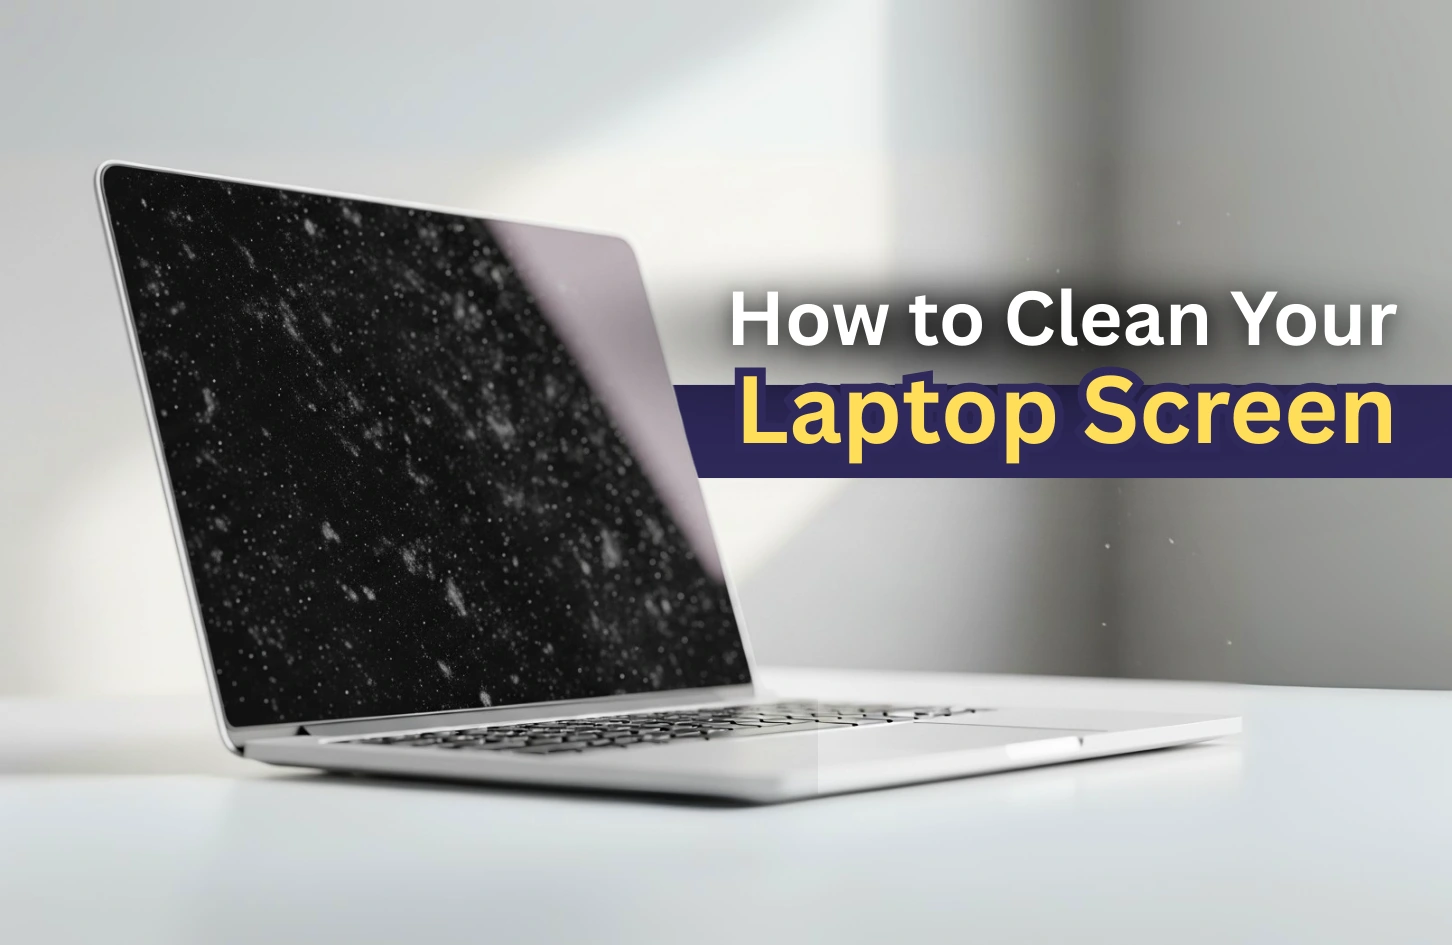
Hearing that, I later researched a bit and found out that many people have faced similar problems. The display would die, or they would put too much pressure on it, or use too much liquid. That is why today in this blog I will cover everything you should watch out for and how to actually clean your laptop screen so that it doesn’t become a brick. Let’s dive in!
Safety Precautions Before You Start
As for all things, you need to take some precautions and make some preparations before you start your cleaning process so that you do not accidentally short your screen like my friend.
Power down completely
ALWAYS keep your laptop powered off and UNPLUG it from the power source so that neither you nor the laptop gets shorted.
Let it cool down
If you’ve been using your laptop, wait 10-15 minutes for the screen to cool to room temperature. Cleaning a warm screen can cause cleaning solutions to evaporate too quickly, leaving streaks or residue.
Check your manufacturer’s guidelines
While most laptops follow similar cleaning methods, some manufacturers have specific recommendations. When in doubt, avoid alcohol-based cleaners, ammonia, bleach, or any harsh chemicals that could damage anti-glare coatings or cause discoloration.
You may also read – 8 Ways To Fix A Laptop That Is Not Charging
Recommended Materials
This is the section where most problems arise, without proper tools there is a high chance you are going to damage your laptop screen. Use the materials listed below to get the optimal results:
Microfiber cloth
Please make sure you carry at least 2 microfiber cloth; one for cleaning and one for drying. I can’t stress enough how important a microfiber cloth is. Regular cloths might contain lint, or their textures might be rough which could leave scratches in your screen if rubbed a bit too hard.
Distilled water
This is the most safest option since anything alcohol based might not be suitable for your laptop screen, check with your manufacturer to see if it is supported. Otherwise, if you want to stay safe, distilled water is the way to go.
Screen-safe cleaning solution (optional)
Sometimes water alone is not able to remove all the smudges of your screen. For this you might need a specific cleaning solution. If water alone isn’t cutting through stubborn smudges, look for cleaners specifically designed for electronic screens. Avoid general-purpose glass cleaners unless your laptop manufacturer explicitly approves them.
Compressed air (optional)
While this is optional, if you have a compressed air blower, you can use it to get rid of dust stuck in tight spaces of your laptop.
You may also read – How to Increase Laptop Battery Life
Step-by-Step: Cleaning Your Laptop Screen
Now that you have the right materials and have taken all the precautions, it’s time to put in that elbow grease:
Step 1: Remove loose dust and debris
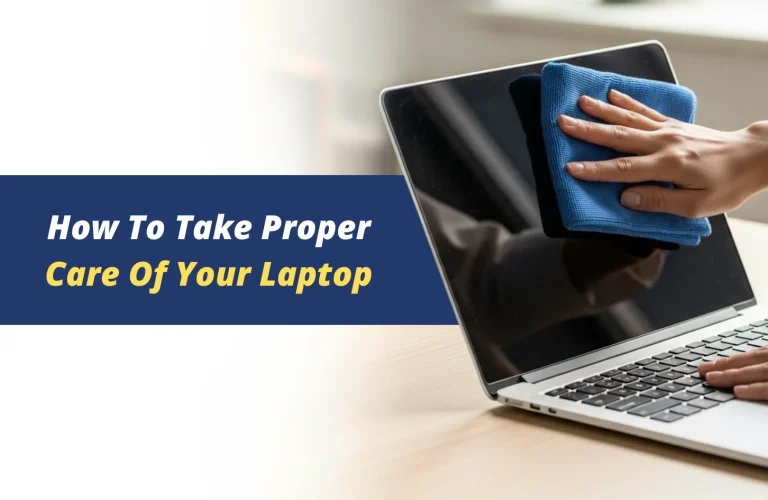
First, dust your screen with a dry microfiber cloth to remove loose dust and debris from the screen which can cause scratches when you move to wet cleaning.
Step 2: Prepare your cleaning cloth
Next, lightly wet your microfiber cloth with the distilled water or the cleaning solution. Make sure it is not dripping wet but barely moist. If you are using a cleaner, DO NOT spray directly onto the screen, spray it first on the cloth and then wipe.
Step 3: Clean with gentle circular motions
As gently as possible, start from the middle of the monitor and move outwards in a circular motion. Make sure to not put too much pressure or be aggressive on smudges, the microfiber cloth with enough time gets rid of it.
Step 4: Dry and polish
Lastly, use the dry cloth and using the same circular motion start wiping to prevent water spots and streaks. After the circular motion, finish with a horizontal wipe to get an uniform appearance.
What to Avoid
Certain materials and techniques can cause permanent damage to your laptop screen, even if they seem harmless:
Paper towels, tissues, or rough cloths can scratch delicate screen coatings. Even “soft” paper products are abrasive at the microscopic level.
Excessive moisture is your screen’s enemy. Never spray cleaners directly onto the screen, and always ensure your cloth is only slightly damp. Liquid that seeps behind the screen can cause permanent damage.
Household cleaners like Brasso, bathroom cleaners, or kitchen degreasers often contain ammonia or other harsh chemicals that can strip anti-glare coatings or cause discoloration. When in doubt, stick to distilled water.
Excessive pressure can damage LCD panels or crack the screen. Your touch should be light enough that you’re barely bending the screen.
You may also read – How to fix an overheating laptop
Extra Tips for Maintaining a Clean Screen
Prevention is always easier than deep cleaning. These habits will keep your screen cleaner longer:
Clean regularly. A quick wipe-down every 1-2 weeks prevents buildup that requires more aggressive cleaning. Weekly maintenance takes just a minute but saves time in the long run.
Create a dust-free environment. When possible, store your laptop in a case or clean area when not in use. Keep your workspace dust-free and avoid eating near your laptop to prevent food particles from settling on the screen.
Train yourself not to touch. Fingerprints are one of the biggest culprits of screen smudges. Resist the urge to point directly at the screen, and educate family members or colleagues who use your device.
Consider a screen protector. For laptops that see heavy use, a high-quality screen protector can be easier to clean and replace than the actual screen.
Conclusion
Honestly, writing this whole thing brought me back to that conversation with my acquaintance. I still can’t believe they managed to kill their laptop just trying to clean it! But now I realize how easy it is to mess up something that should be straightforward.
The funny thing is, after all my research and testing different methods, I’ve probably cleaned my laptop screen more times in the past few months than I had in years. And you know what? It’s actually kind of satisfying when you get it right—that moment when the screen goes from smudgy mess to crystal clear.
If you’re still nervous about it, start with just a barely damp cloth and see how it goes. Worst case scenario, you end up with a slightly cleaner screen than when you started. Best case? You finally get rid of those annoying fingerprints that have been driving you crazy.
Trust me, once you do it properly a couple times, you’ll never be that person frantically googling “did I just break my laptop” at 2 AM.

Jiaan is a tech enthusiast and an audiophile who loves diving into the latest gadgets and soundscapes. You’ll often find Jiaan active on forums and Reddit, sharing insights and engaging with the community. By day, Jiaan is a digital content writer, crafting engaging stories.
