Ultimate Laptop Cleaning Guide
I still remember the day during a presentation that we were preparing for our university course, 4 of us decided to pull an all-nighter as we had our presentation the very next day. Now out of 4 only 2 of us had a laptop, my friend and I.
So we decided to use our friend’s laptop for the project and when he took that laptop out, it felt as if he was taking out an ancient relic. Dust swirled out instantly, the screen, the keyboard, it’s like everything on the laptop was dusty.
While turning the laptop on, that thing was literally making a screeching noise, probably asking us to kill it then and there. After bullying our friend a bit we cleaned the laptop together and it took us like 10 minutes and we used just the items usually available in our homes.
Yes this is the main premise of this blog on how to clean a laptop so that you make sure your laptop keeps being the apple of your eye rather than being an eyesore. Let’s dive straight in.
Before You Begin: The Essentials
So before you begin the decontamination of your laptop you are going to need a couple things. These are all common things you will usually find lying around your house:
- A Microfiber cloth: Look for 2 microfiber cloths in your house which are clean, you can even. If you cannot find one, try looking for a 100% cotton cloth or a handkerchief; those should work as a proper alternative.
- Isopropyl Alcohol: Look for 90% Isopropyl alcohol and if you cannot find that in your nearest store try getting white vinegar and distilled water. You can get distilled water for very cheap at any nearby battery store.
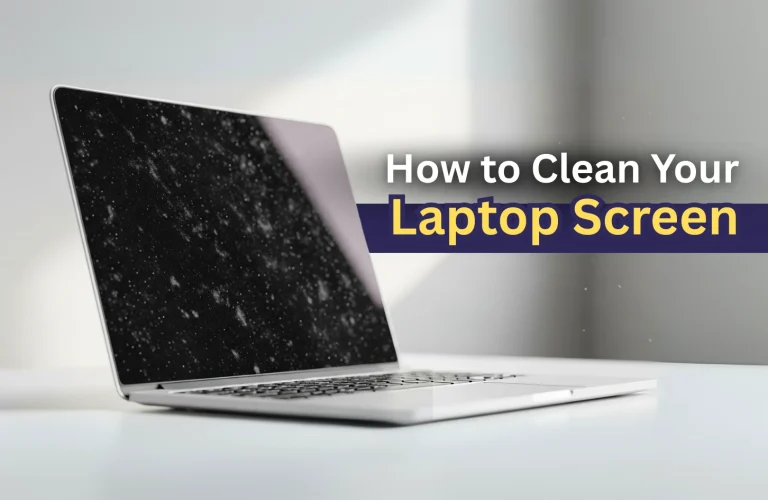
Yes, with just these 2/3 items you can begin the exorcism of your laptop. You may also read – How to Clean Your Laptop Screen
Step 1: Preparing Your Environment & Handling Tips
Before we begin the cleaning process we need to prepare our environment a bit. First and foremost, KEEP YOUR LAPTOP TURNED OFF. I cannot emphasize enough how important this part is.
Keeping your laptop on especially while cleaning, can accidentally delete your files as you will be touching your keyboard and you do not know what types of wrong presses you might do. This further make sure there is no electricity running through it and if accidentally any liquid does enter your circuitry you can just wait for it to dry off before frying off.
Try cleaning your laptop in a clean environment without any other items, especially liquids nearby as you do not want to spill it while cleaning. A clear table/environment will also help you with the clean up later as dust and lints from the laptop will fall and spread into your environment.
Next while cleaning make sure you never put too much pressure. Always put just the minimum pressure while cleaning, just enough to get any spots out. While handling the laptop, make sure you pick it up with both of your hands. As that spreads out the pressure and puts minimal pressure on the laptop.
And most importantly, NEVER pick up your laptop by the lid as that can easily damage your screen if handled improperly. Picking up with one or by just the corner can also put extreme pressure on the laptop, which can damage circuitry.
Step 2: Dry Clean
First, do a gentle wipe across the entire laptop with a dry cloth. Doing this will pick up all the loose layers of dust first and just in general makes your cleaning easier while going to the next step.
Start with the lid closed, the top part then move to the bottom. Clean the bottom with a bit more priority since that is where most dust tends to stick due to the vents. Do not put pressure in for spots or marks as they won’t be coming off with just a dry wipe.
Next open the lid and start with the keyboard. Make sure to pick up as much loose dust as possible and if it gets a bit difficult to bring out the dust from the spaces between the keys, you can use any old brush lying around your home. Using the brush will help you get into tighter spaces and get rid of more brushes.
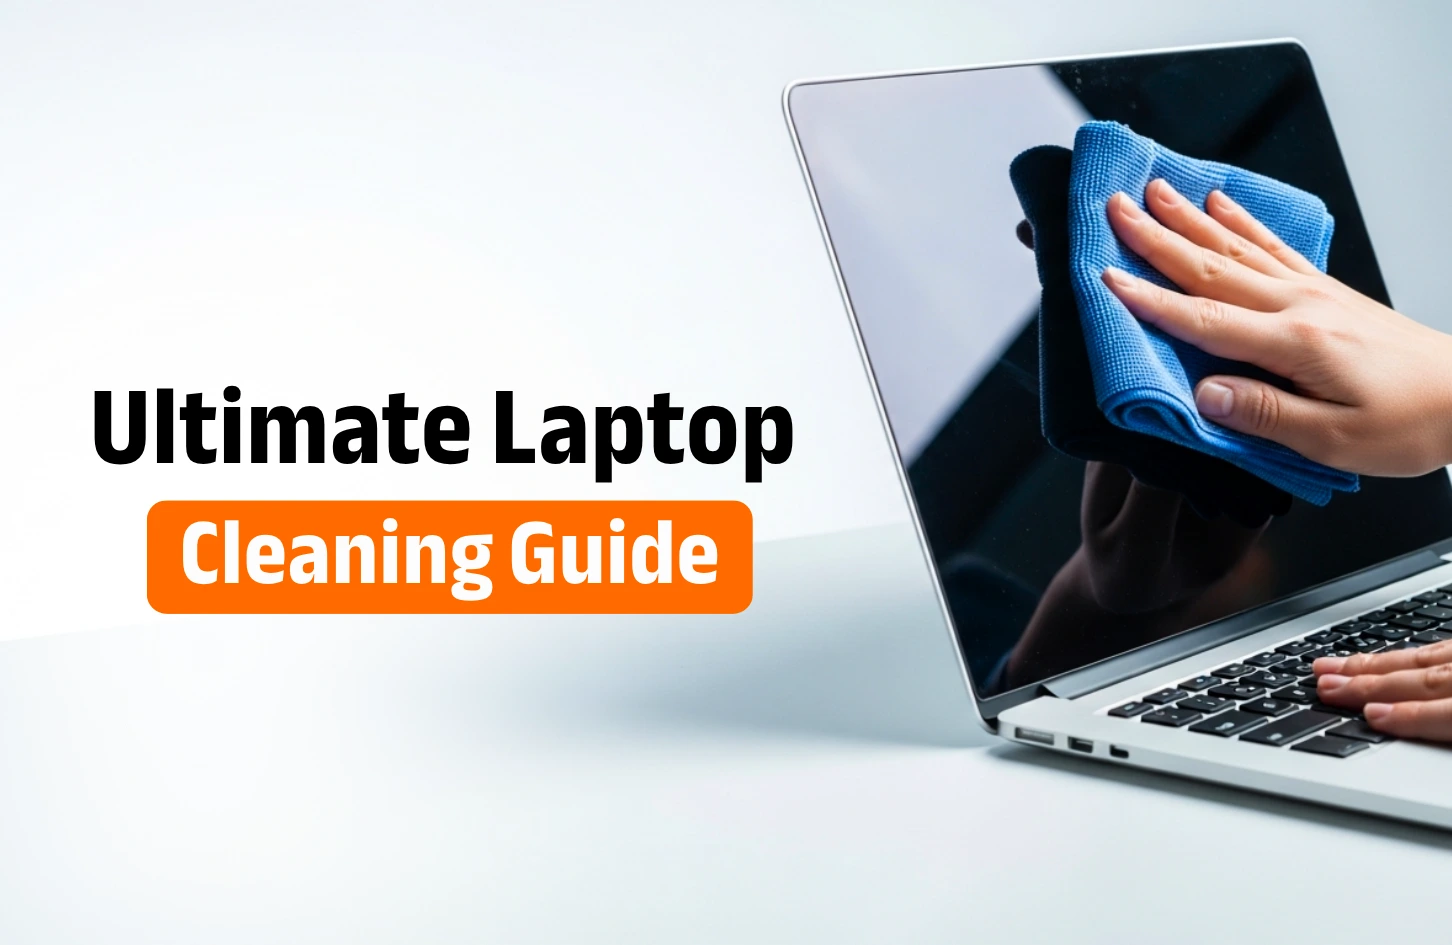
Next would be your screen. Same as before but even less pressure here. Just do a slight wipe and get as much loose dust from the laptop. All in all, technically you should be done with much, you should only go for the next step if you are looking for a sparkle clean.
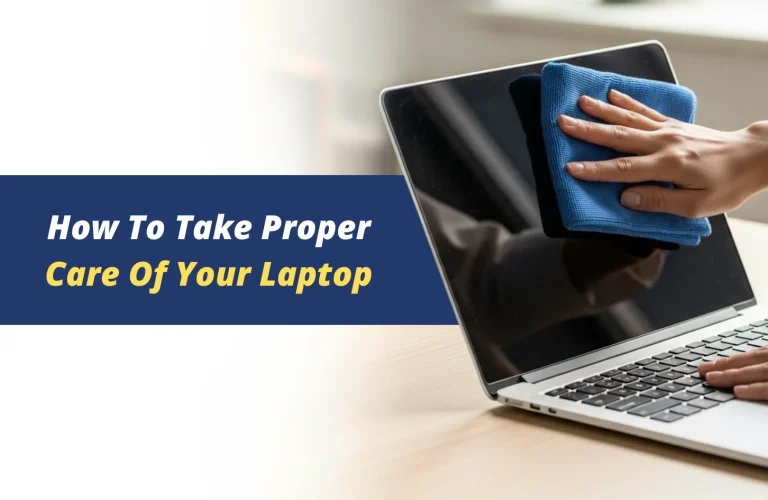
Doing only this much regularly will keep your laptop clean for months before you need to use liquid to clean. A liquid clean once a month should be enough. You may also read – How To Take Proper Care Of Your Laptop
Step 3: The Wet Clean
If you have isopropyl alcohol then you can directly just start with cleaning. If not, you need to make your cleaning mixture first. Start with mixing white vinegar to equal parts of distilled water, the ratio should be 50/50. With that you have your cleaning solution reader.
You can now start dampening your cloth. Make sure to very lightly use the liquid. You do not want it to be soaking wet as that could lead to that liquid seep inside your laptop. With all that set lets start with the wiping. Another thing, make sure you directly do not spray or drop the liquid on the laptop, specifically the screen as it is a very sensitive place.
Same process as the dry wipe, wipe gently on all sides making sure you get all the spots. For any tough spots just on the body that do not go away, try putting a few drops, just make sure it does not seep inside. The few drops will then loosen up the dirt/spot and with that you can easily clean it out.
While cleaning you will notice that this solution does not leave any streak and that is what we were aiming for. Direct water or any other liquids leaves streaks which we do not want. With that done you should now have a sparkling clean laptop.
KEEP IN MIND, after cleaning set your laptop aside for maybe 10-20 minutes before turning on just in case some liquid does seep through. If it did seep through by 10-20 minutes it should evaporate.
Conclusion
With all that said and done you now should have a laptop that looks as if it was brand new. This is a very simple cleaning process and requires minimal equipment. Following this method should leave you with a brand new laptop every single time.
For general upkeep you can just repeat the dry clean step every other day or so which makes sure there is not much dust build up. While doing the entire cleaning process once a month should keep your laptop squeaky clean.
This was it for today. We hope to see you in another blog where we will talk about other stuff till then keep your laptop clean so that it doesn’t become an eyesore.

Jiaan is a tech enthusiast and an audiophile who loves diving into the latest gadgets and soundscapes. You’ll often find Jiaan active on forums and Reddit, sharing insights and engaging with the community. By day, Jiaan is a digital content writer, crafting engaging stories.